
Agenda Section
 Clicking the Agenda icon on the left navigation bar will take you to the Agenda section of the Bells application.
The Agenda will show any appointments you have scheduled, including group appointments.
Important: The agenda shows appointments up to 10 days in the future and 2 weeks (14 days) in the past.
 myEvolv users: Group appointments and non-patient appointments will not show in Bells. Appointments that are longer than 24 hours will not show in Bells.
 myAvatar users: Non-patient group appointments will show on the agenda.
If you do not have appointments scheduled in the EHR, no appointments will display in the Agenda section. The appointment sync logic pulls appointment information from the EHR once per browser tab session for Bells. This means whenever you open a new browser tab and sign in, Bells pulls the appointment information from the EHR. Then it won't pull again until a new tab is opened.
 On the right side of the display, you'll see a button to sync appointments from your EHR. Clicking this will re-sync your appointments from your EHR.
Along the top of the display, there is a Search patients bar, this search will filter the agenda display to the searched patient. As part of this search and other patient searches in Bells, you will see a pill-style toggle for Bells and your EHR. When toggled to Bells you'll search for patients in Bells. When toggled to your EHR you'll be searching for patients that haven't sync to Bells that are part of your EHR. Clicking the patient in your EHR side of the search will pull sync that patient and their data into Bells and show you any upcoming appointments in the display for that patient.
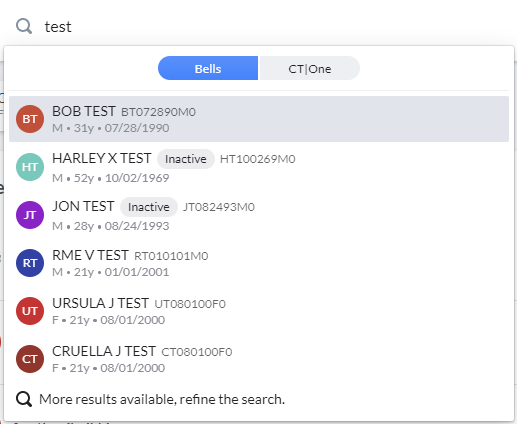
 myAvatar users can only search by the last name due to the functionality from myAvatar.
Navigating the Agenda
 The Today button navigates you to the current date when you've scrolled to the past or future in the top date bar.
 There is also a scrolling date bar along the top of the display. Today's date will be highlighted in dark blue, and the selected date (if different from today's date) will be highlighted in a lighter blue.
Clicking a date in the date bar will adjust the display to show the date selected. You can click the blue arrow button on the left and right sides of the date bar to adjust the dates to select.
Important: The agenda shows appointments up to 10 days in the future and 2 weeks (14 days) in the past.
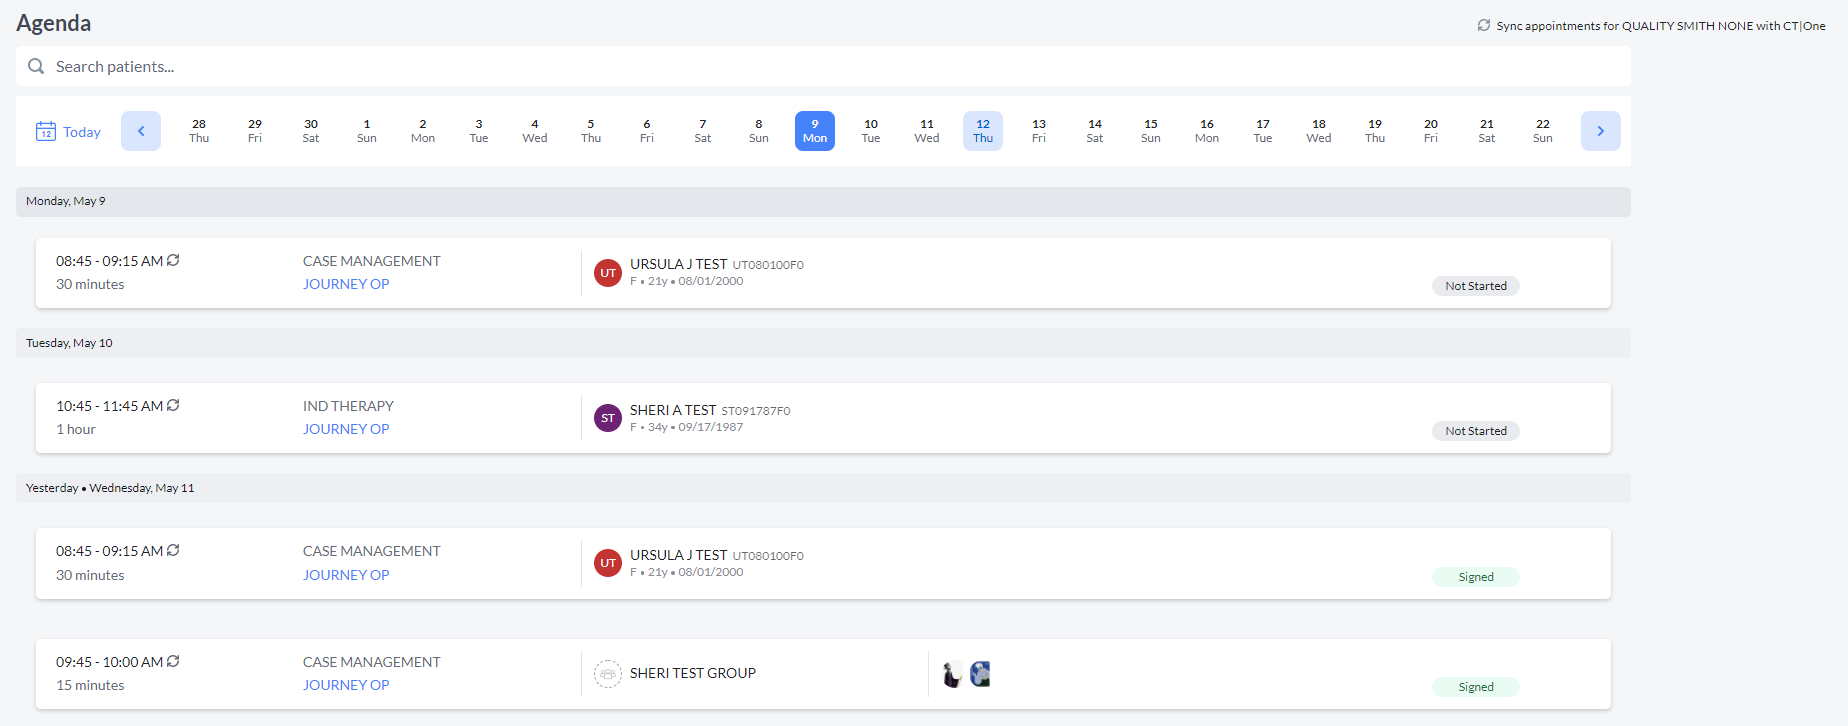
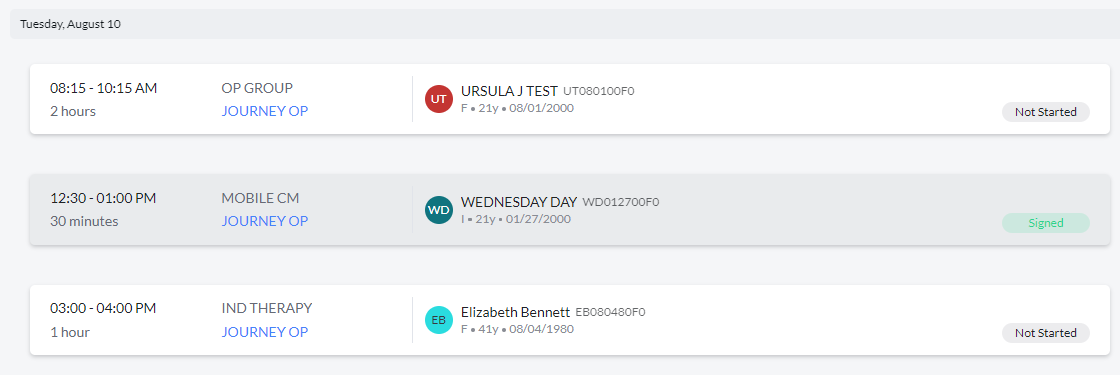
The agenda display is grouped by date and will show the day of the week and Month/Day for the date of the appointment. The banner for the day that is selected in the date bar will be a light blue, other day banners will be gray.
Additionally, there is auto-scroll functionality based on the appointments in the display.
- If your next appointment is today, the display will auto-scroll to the next appointment.
- If your next appointment is in on a future date (not today) and you have appointments today, the display will auto-scroll to the last appointment for today.
- If your next appointment is on a future date (not today) and you have no appointments today, the display will auto-scroll to select today.
For example, in this screenshot, Sunday August 8 is the selected date on the date bar, and Monday, August 9 is not selected in the date bar.

Appointment Cards
The appointment card in the display will show the time of the appointment, the duration of the appointment, the service type for the appointment, the location set for the appointment, the patient(s) for the appointment, any additional users for the appointment, and if the appointment is for a group. If the appointment is for a group, the group icon and group name displays.
Each appointment card also shows a tag on the right side which indicates the status of the note/appointment. An appointment can be tagged as Signed (green), External (green), Not Started (gray), or Draft (blue). The External tag indicates that the appointment has a progress note already associated to it in the EHR.
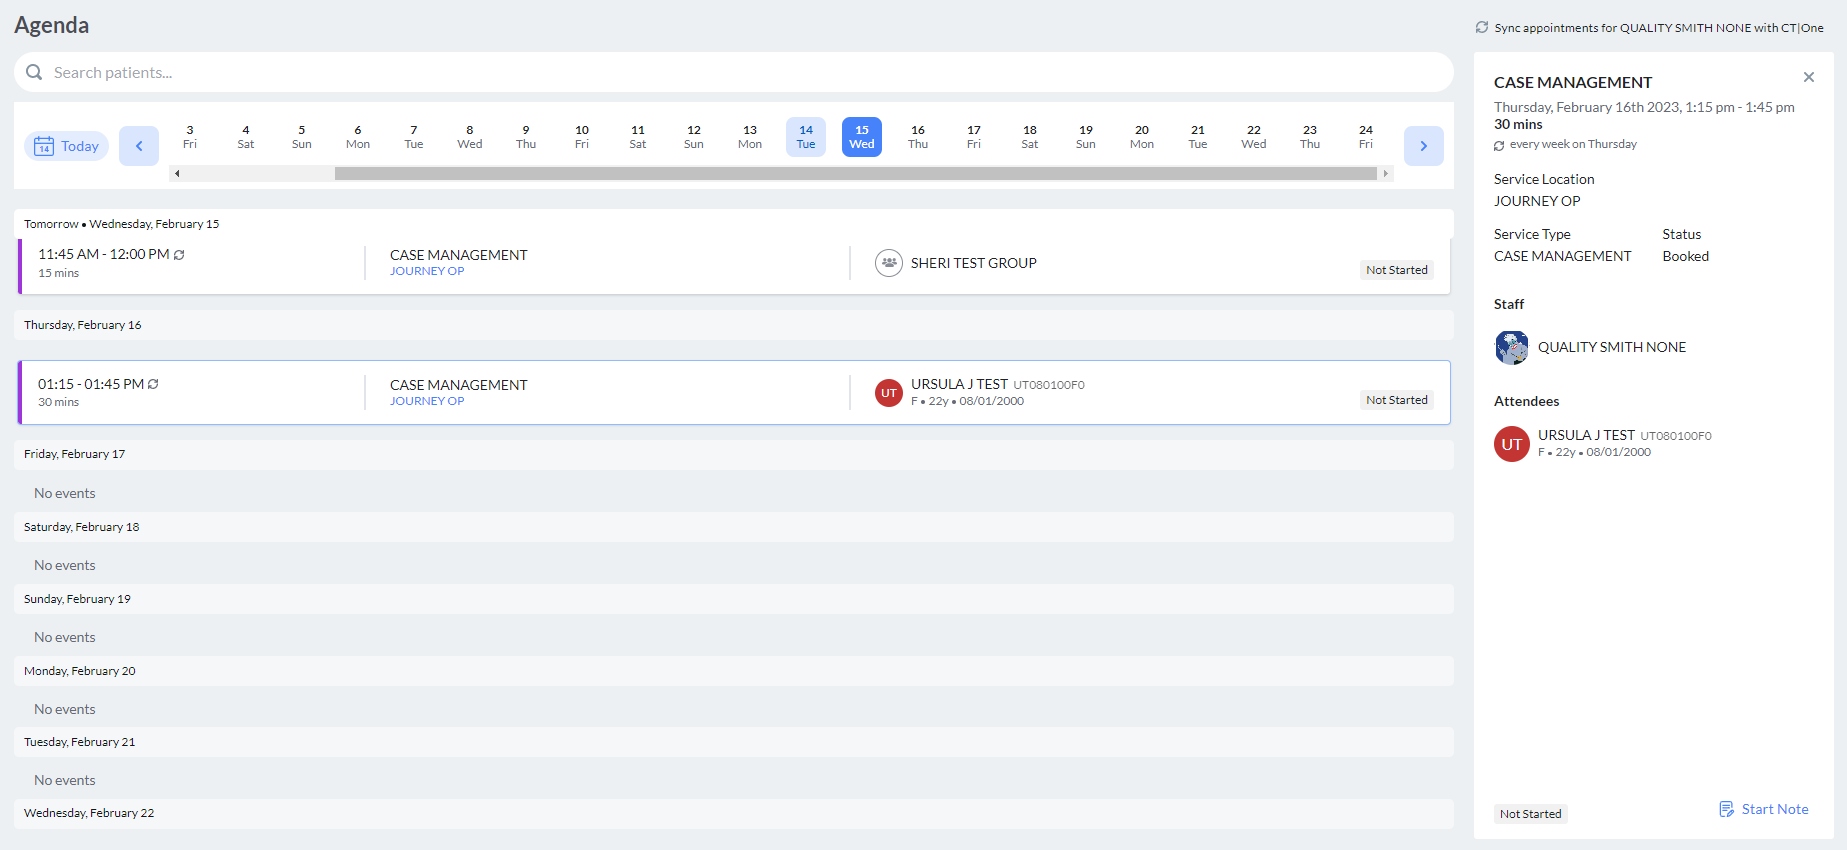
Appointment Details
Clicking an appointment in the agenda will display appointment details in a pane on the right.

Appointment details include the service type, date, time, and reoccurrence (if applicable), location, status, users, attendees, and if the appointment is for a group. If the appointment is for a group the group icon and group name displays.
 myAvatar users: Service Types are called Service Codes. myEvolv users: Service Types are called Services. If an Appointment Reason is available on the appointment in myAvatar it will show in Bells.
myEvolv users: Patient Task agenda appointments will show in your agenda in Bells. Users can write notes for Tasks that include Due Dates.
- This update requires myEvolv release 11.0.0350 (available July 2026).

Appointment Actions
You can access a progress note for the appointment by clicking the blue button in the appointment details. What the button says and does will depend on whether a note has been started for the appointment yet and if so, the state of the note.
 |
If the note for the appointment is not started, you can start a note from the appointment detail display. If the appointment is for a group and the group is not configured for a note type you will get an error. If you're an administrator and get this error, you will be prompted to set one up. If you're a non-administrator nad get the error, you will be prompted to alert your administrator. The available selections will be filtered based on the appointment Location and Service Type.  myAvatar: When Start Note is clicked, Bells will check to make sure a note does not already exist in myAvatar for the same appointment. If it does, you will receive an error message and will not be able to start the note in Bells. myAvatar: When Start Note is clicked, Bells will check to make sure a note does not already exist in myAvatar for the same appointment. If it does, you will receive an error message and will not be able to start the note in Bells.If the appointment doesn't include an episode/enrollment, the Start Note button will be disabled with a hover tooltip explaining why. myAvatar: Appointments with Co-Practitioners, the co-practitioner will not be able to start the note from the appointment. |
 |
If the note for the appointment is started, but not signed, you will see a button to Edit Note. |
 |
If the note for the appointment is signed, you will see a button to preview the note. |
 |
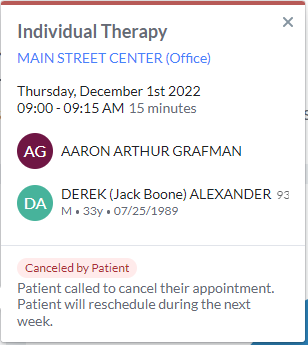
When an appointment is cancelled, the cancelled appointment status and reason will show in the appointment details. Depending on your EHR, users can create notes from a cancelled appointment. |
 myAvatar and myEvolv users can Cancel Appointments in Bells. Clicking Cancel Appointment displays the Cancel Appointment display, where the user will select the Appointment Status and enter a Cancelled Reason for the appointment. For myAvatar, the cancelled statuses are configured by the administrator under Organization Preferences. For myEvolv, the cancelled status is a set list from myEvolv, options include “Client Discharged”, “Event no Longer Applies to the Client”, “Scheduled in Error”, “Client Cancelled Appointment” and “Other”.
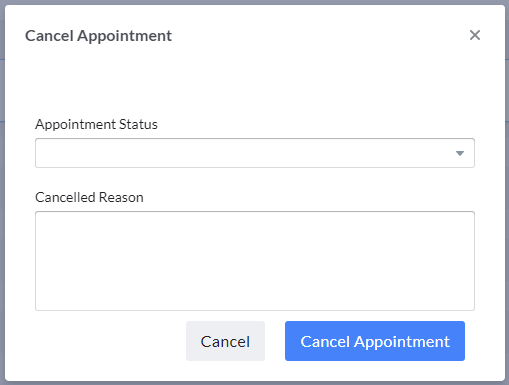
The button functionality here behaves the same as converting Sessions into Progress Notes via Scribbles.
If the appointment is for a single patient, the note for that individual will be started and displayed under their chart in Bells.
If the appointment is for a group, and that group is configured with Note Types in Bells (refer to Configuring Note Types) the group progress note editor will open the Group Note writing experience.
If the appointment includes multiple users, the first user who starts the note from the appointment detail in the agenda will be the note author and be able to edit/sign the note. Any other users that are included on the appointment will be blocked from editing the note. Those users will still be able to preview the draft or signed note from the appointment detail in the agenda.