
Bulk Sign
Bulk Sign allows you to select one or more note(s) and then sign the notes at once with one PIN and signing date/time.
Clicking the Bulk Sign button in the top right of the Chart section launches the Bulk Sign window.

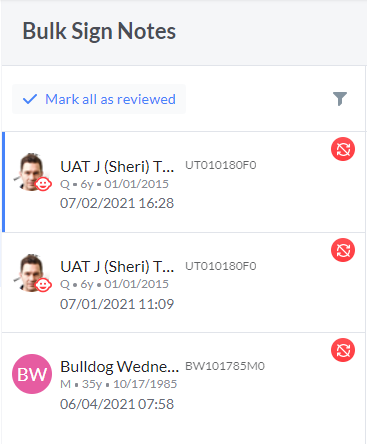
In the Bulk Sign window, you will see a list of unsigned progress notes on the left side. When you click a note in the list on the left, the right side of the window displays the progress note for reviewing.
Note: Group Notes will not display in Bulk Sign. Group Notes have their own bulk sign process as part of the group note editor.

Clicking the Mark All As Reviewed button will mark all notes in the list that it can as reviewed. Any notes that include incomplete sections will not be marked as reviewed. If there are missing required patient/guardian/additional signatures the red ! will show. These signatures must be included prior to the author signature.
This button is additionally controlled by the global setting "Allow Mark All As Reviewed" under the administration settings of the Bells application. Your administrators can configure Bells to allow or disallow the use of the Mark All button on the Bulk Sign window for the organization. When toggled on, the Mark All As Reviewed button will be present; when toggled off, the Mark All As Reviewed button will not display.
 The Mark All as Reviewed button is not available for myAvatar and myEvolv users.

Cards in the list include the patient's card details and the session date and time of the note.
In the top right corner of the card, you may see a red information icon indicating there are incomplete sections on that note.

You can click the Edit button to launch the progress note editor to make changes to the note to allow it to go through the review/bulk sign process. When the note editor opens, any required note sections that are not filled out will be flagged with red text indicating the issue.
If nothing is in the top right corner to indicate the note has incomplete section(s), the note can be marked as reviewed and bulk signed. Hovering over the card in the list will reveal the review/not review icon/button in the top right corner. Clicking the button when the note is not reviewed will mark it for review, indicated by a green check in the top right corner. Clicking the button when the note has been marked as reviewed will remove the Reviewed green checkmark.


Clicking Cancel will cancel the bulk sign and you will have to repeat the Mark as Reviewed process for any notes you want to bulk sign.

Clicking Sign Reviewed Notes will initiate the signature process and will bulk sign the notes that have been marked as reviewed.
Once notes are signed, they will no longer display in the Bulk Sign window, the Open Sessions display or the Worklist tab of the chart.
While notes are in the process of being bulk signed, a signature icon at the top right corner of the application can be clicked to see the progress of the notes being bulk signed.
 Clicking the icon will display the progress bar for the notes being bulk signed. If no notes are in progress, a different message will display.
When there are no bulk sign notes in progress, the icon for the progress will not display.
When bulk sign notes are in progress, the following image is what will display when the icon is clicked.
If there are errors, you will see the number of notes that errored. Hovering on the number will display the message "Notes signed with 3 errors." Once back in the bulk sign window, notes that were unable to be signed/errored will show with a new icon. Clicking the icon will mark the note for re-signing.
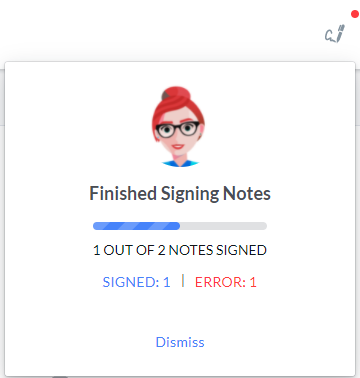

- We display a green badge on the icon if the previous bulk sign notes have all been completed.
- We display a red dot badge on the icon if there were any errors.
- You can dismiss the icon via the button "Dismiss" on the message.