
If you attempted to re-enter your personal information and are still receiving an error, you will be asked to provide additional proof of identity.
Providing Additional Documentation
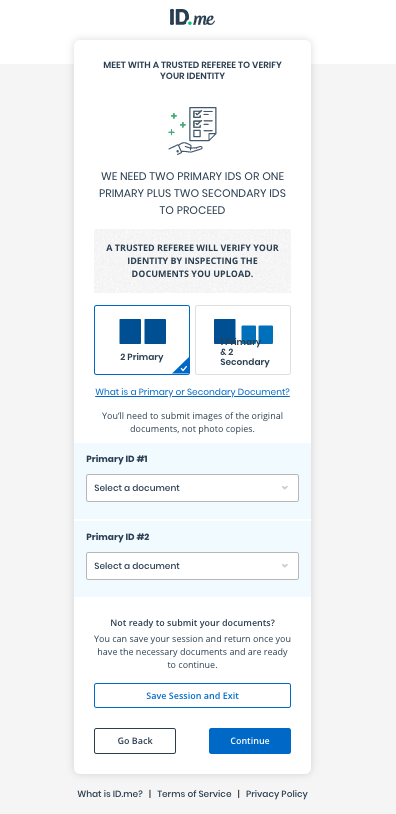
Step 1: Select which additional forms of identification you are going to submit and click Continue.
Step 2: Select how you would like to upload the photos of you identification: Take photos with phone or Upload photos from your computer.
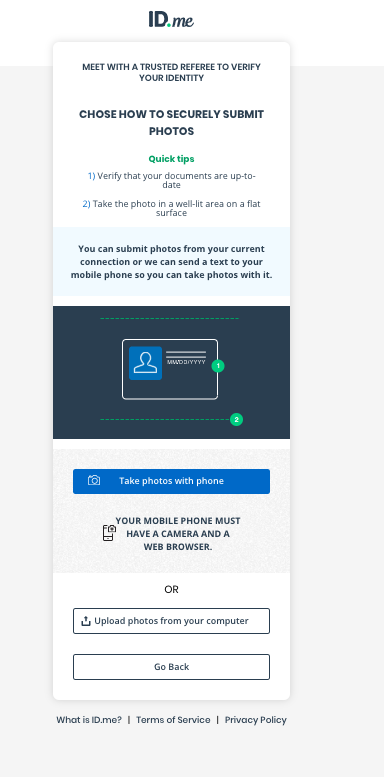
If you select to upload the photos from your computer, you will be prompted to locate and select the photos from your computer.
If you select to take photos of your identification with your phone, enter your phone number and click Continue.
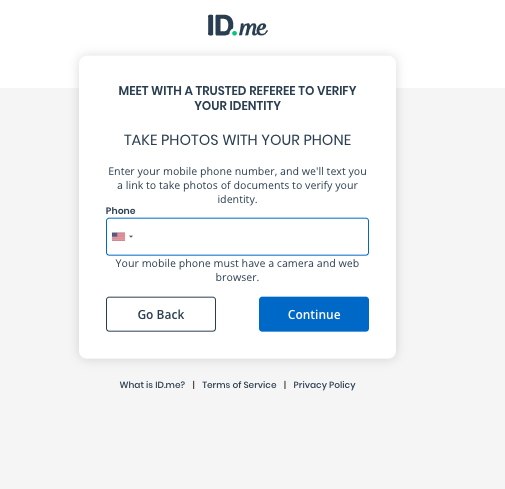
Step 3: You will be sent a text message to continue the process of taking the photos with your phone.

Uploading Photos of Your Documentation
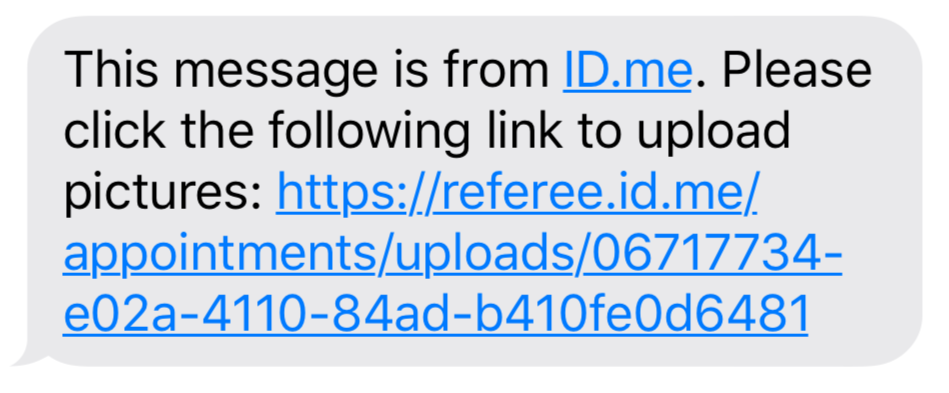
Step 4: Click the link provided in the text message.
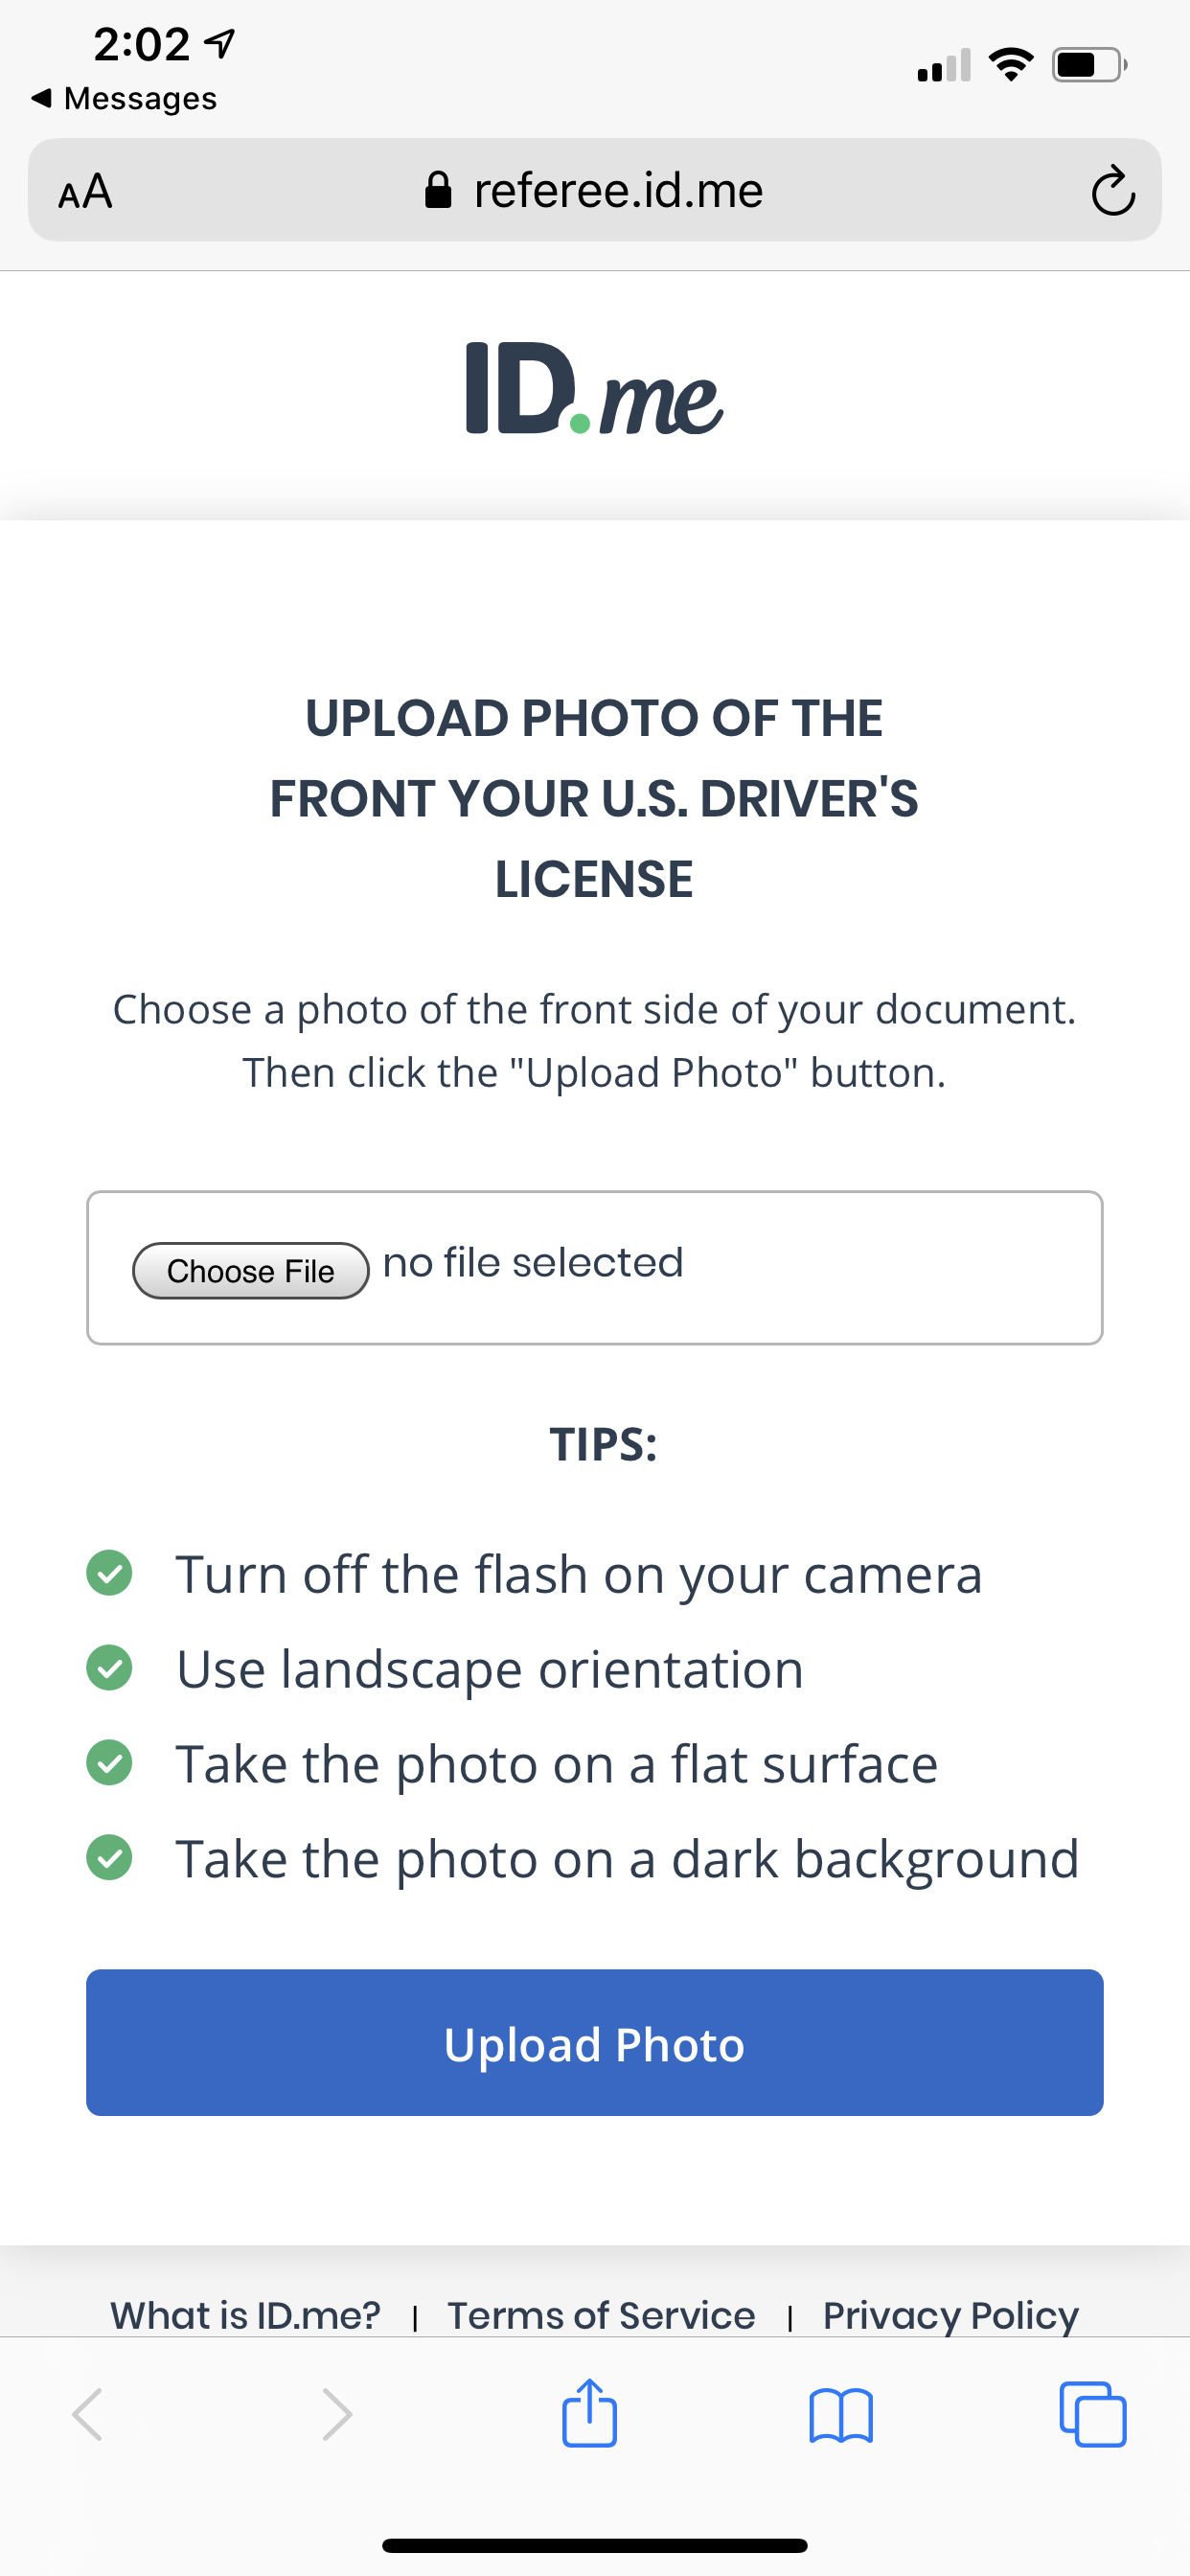
Step 5: A new window will open letting you know what picture you need to take.
For example, below we are being asked to upload a photo of the front of the driver's license.
Click the Choose File button to take a picture of the requested photo.
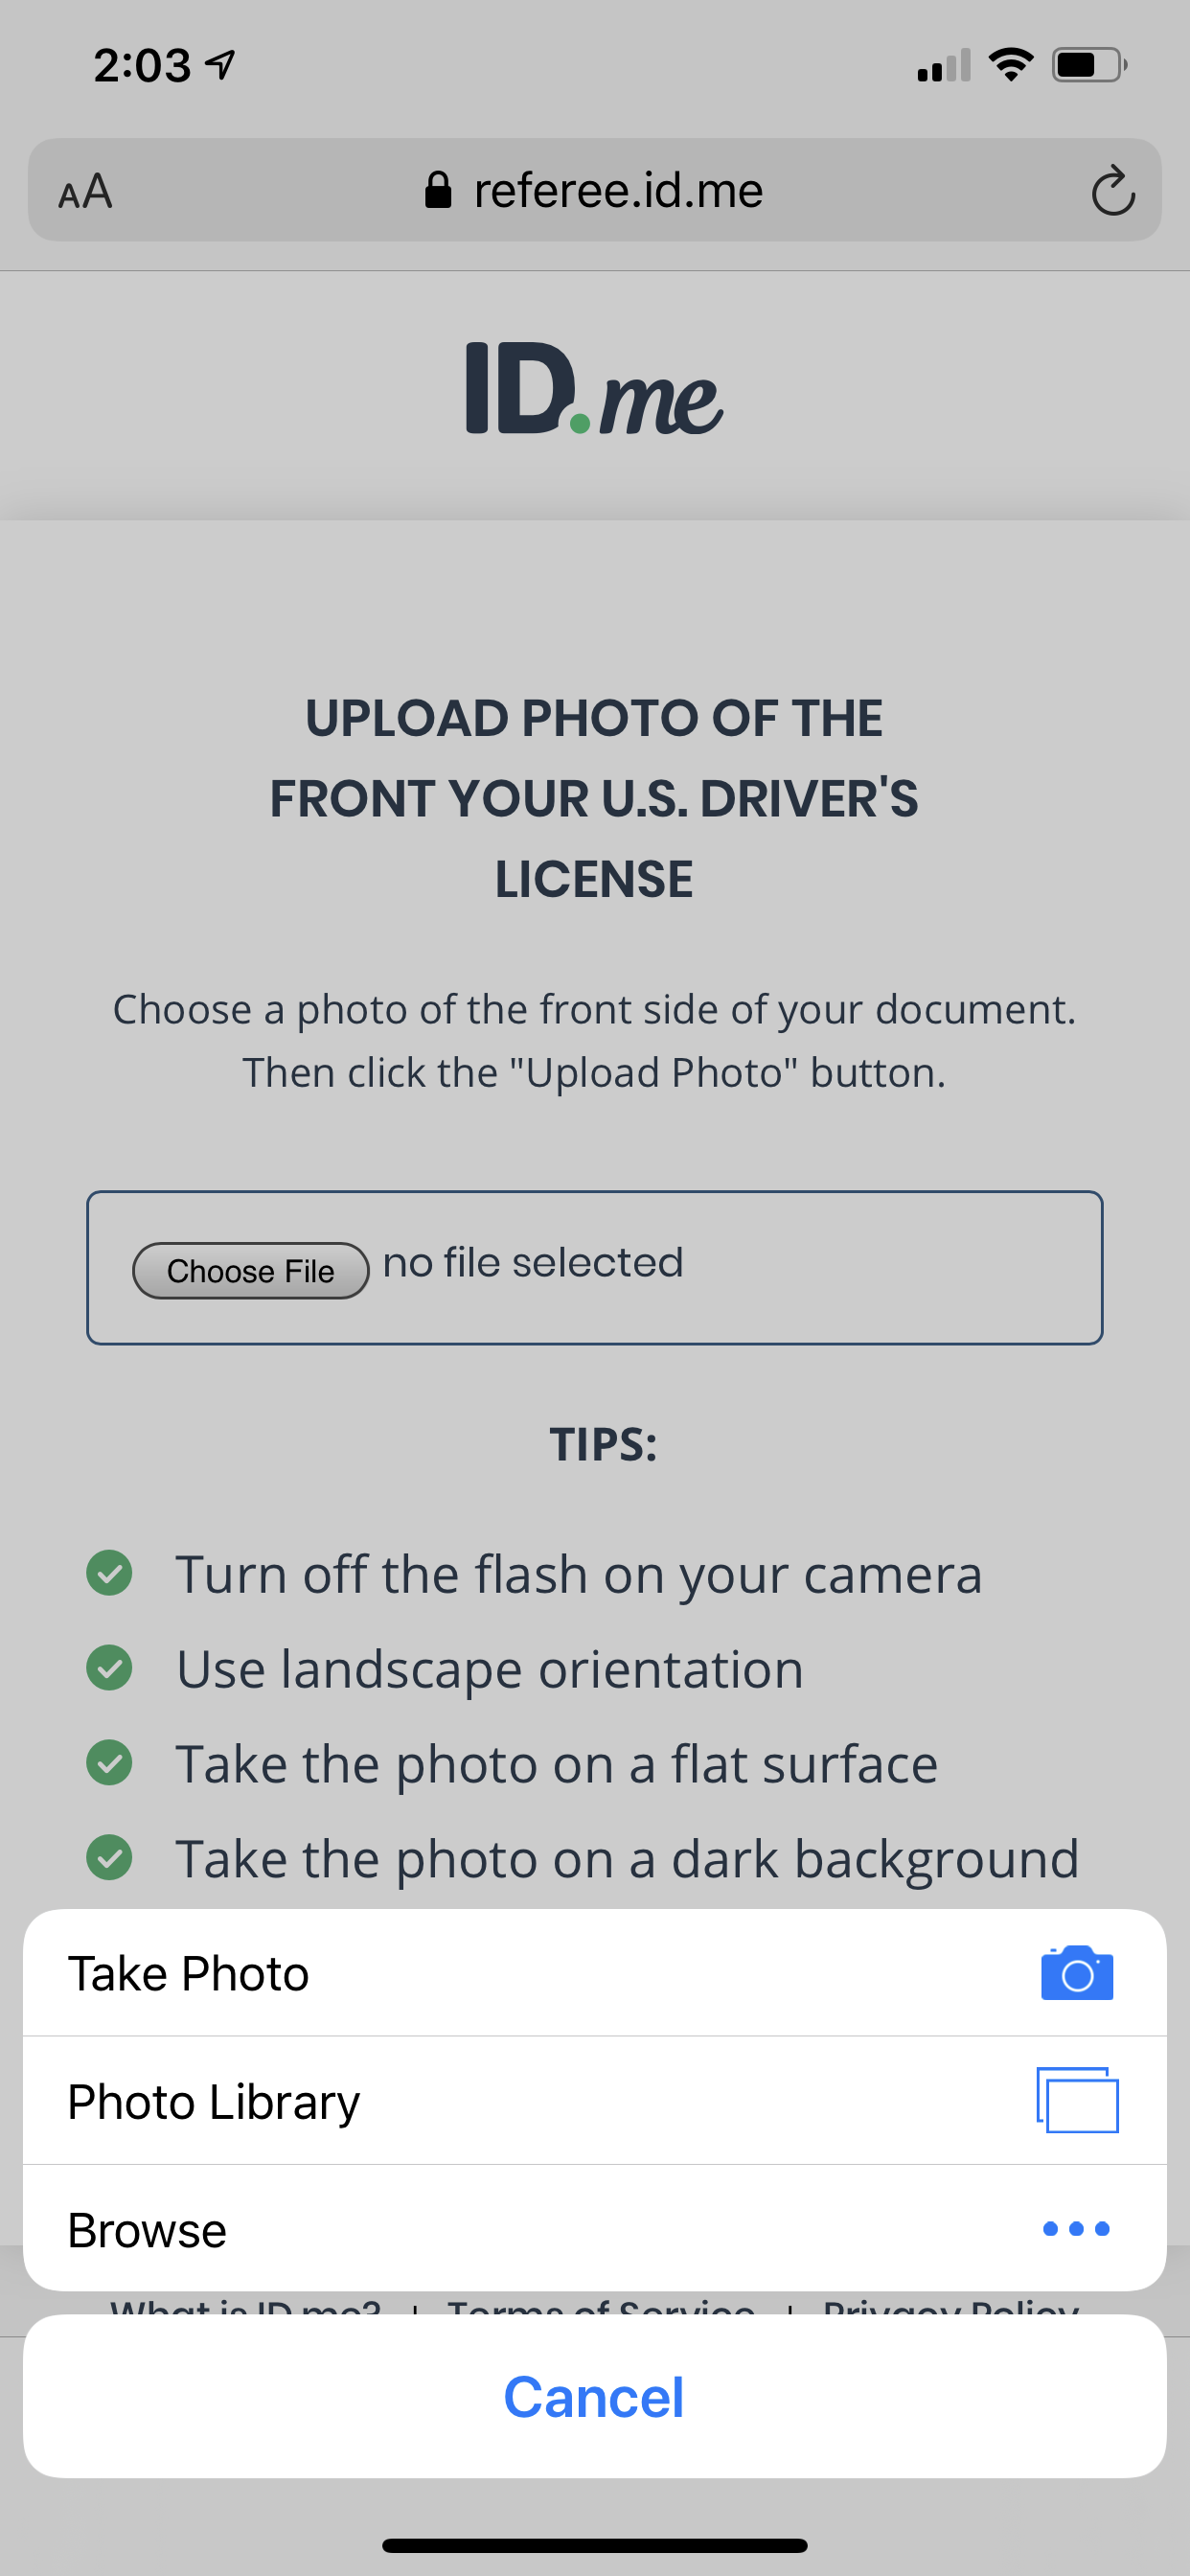
Step 6: Select to take a photo or select a photo that has already been taken from your photo library.
Once selected, click the Upload Photo button.
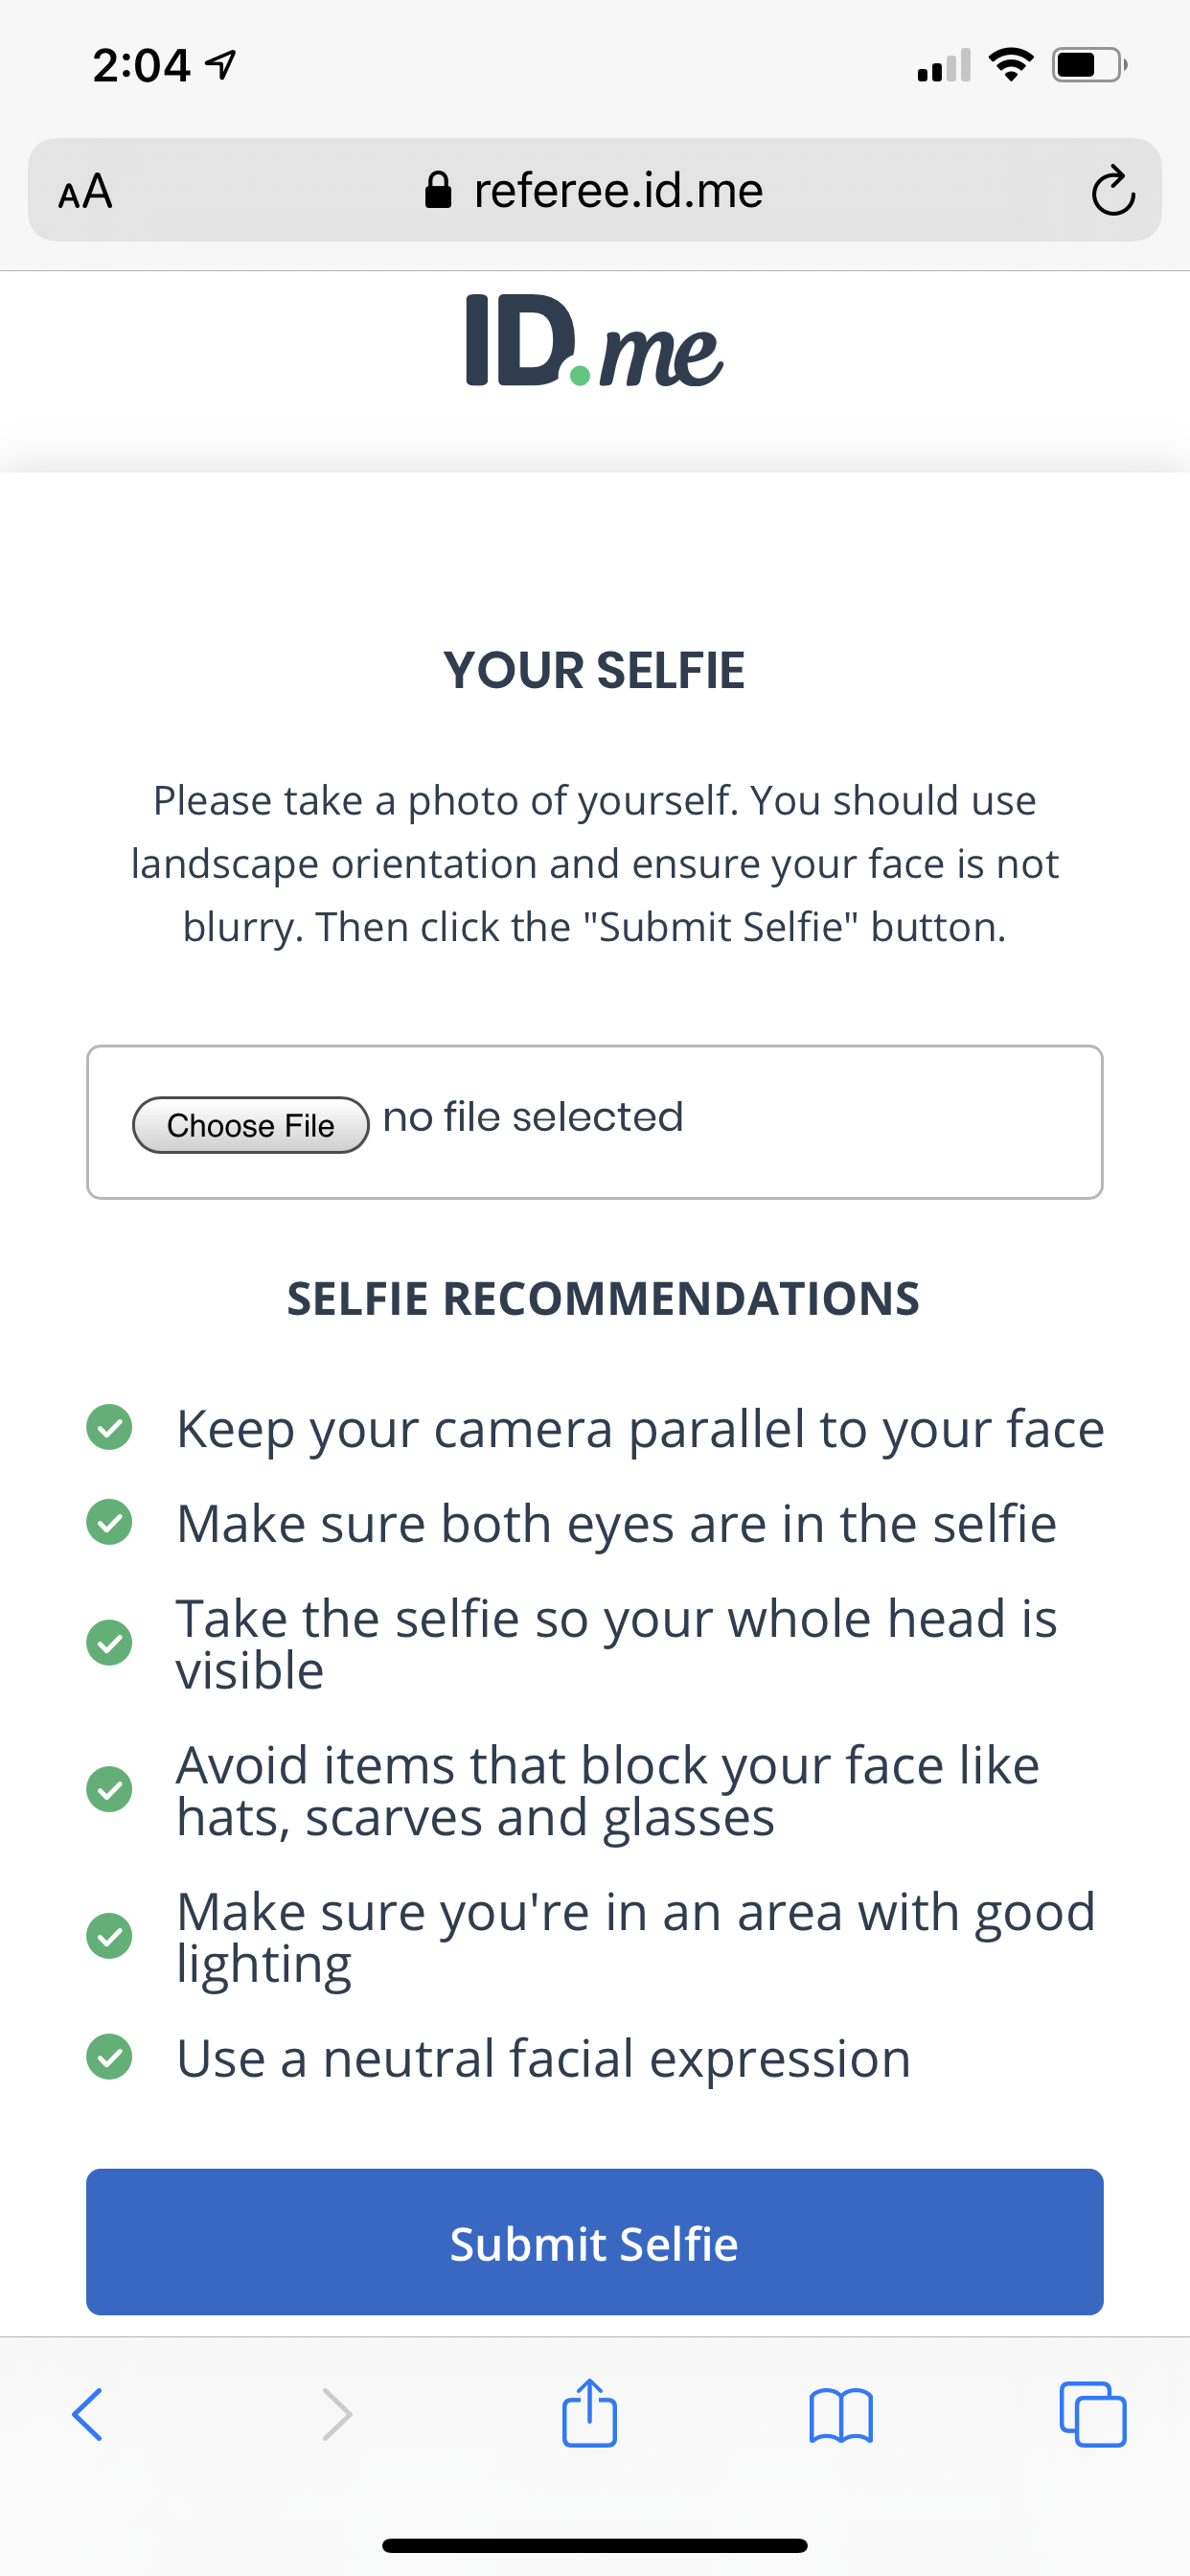
Step 7: After providing all of the requested pictures of your additional identification, you will be asked to provide a Selfie photo.
Select to take a photo or select a photo that has already been taken from your photo library and click Submit Selfie.
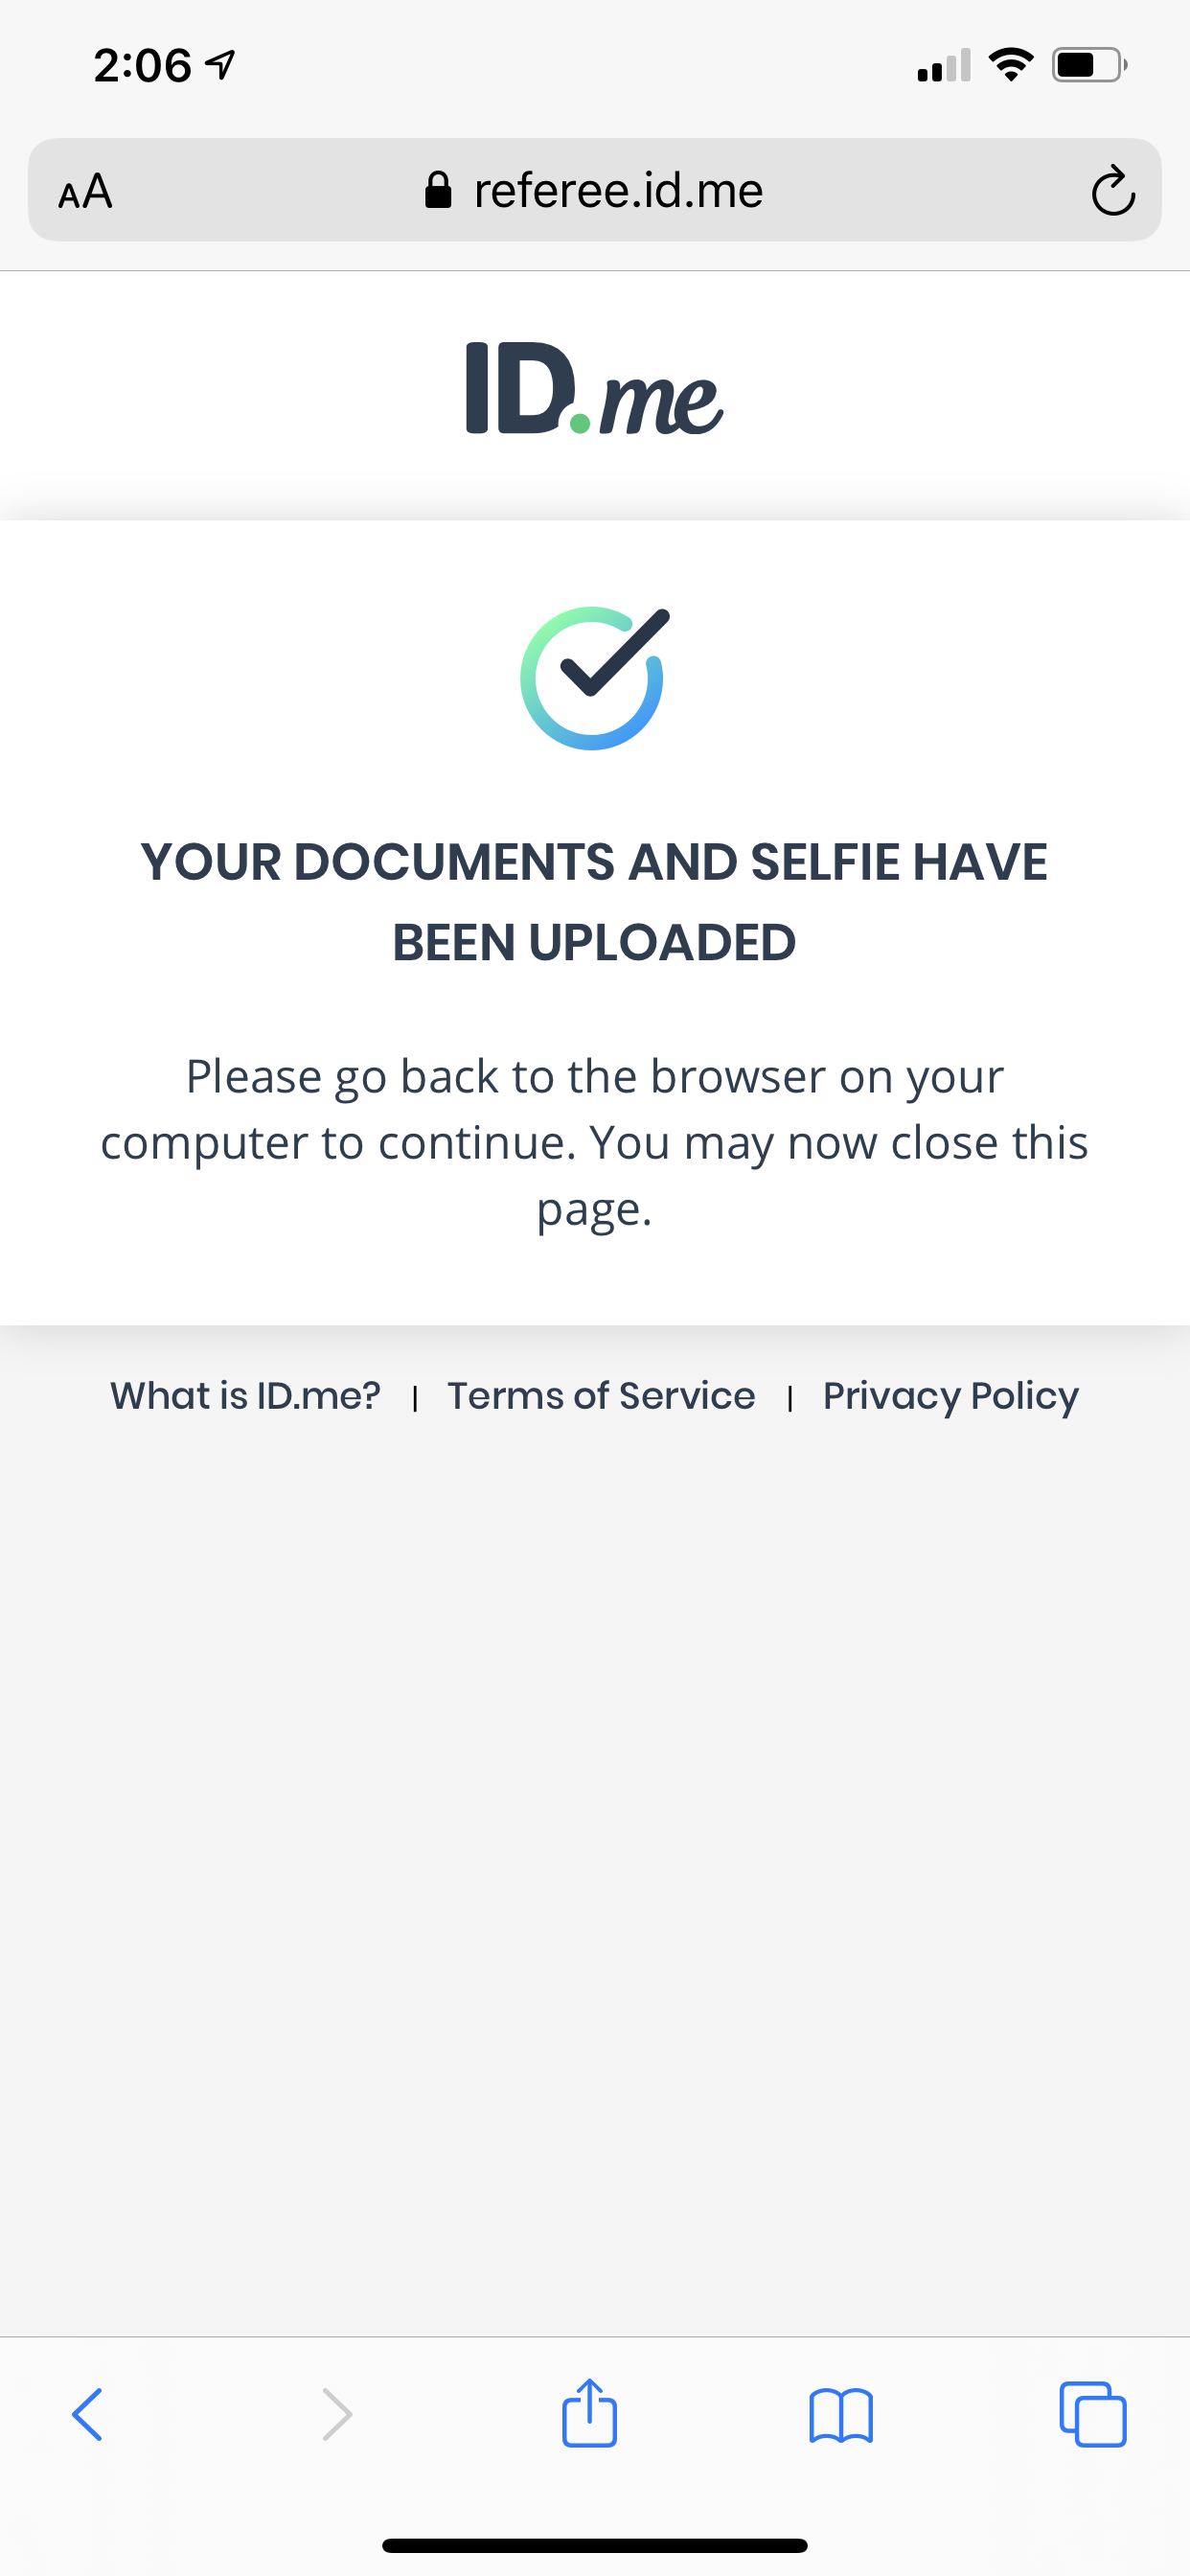
Step 8: Once complete, you will receive a confirmation window.
Meeting with an ID.me Representative
Step 9: For the last step you will need to video chat with an ID.me representative who will review the documents you submitted and finalize the verification process.
Verify the information you submitted is correct and click Continue.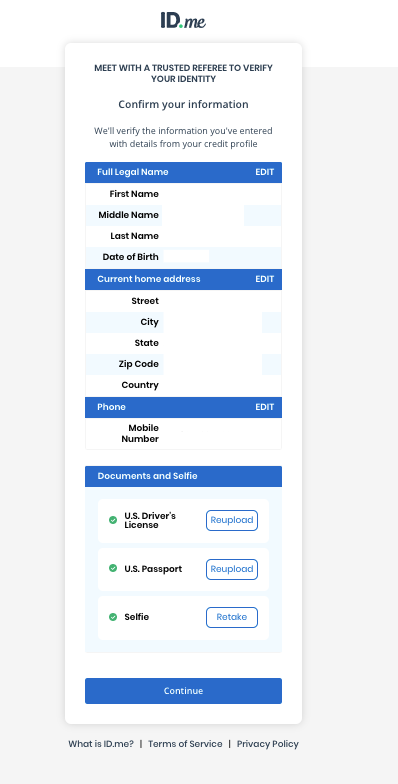
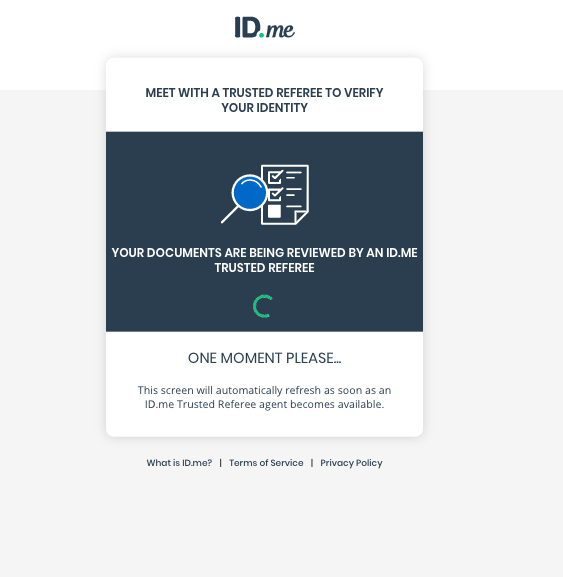
Step 10: An ID.me representative will review the documentation you submitted.
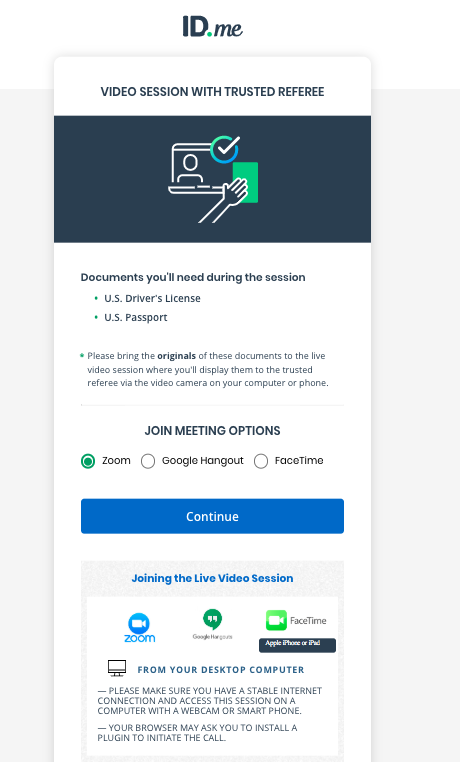
Step 11: Once the review is complete, you will be promoted to start a video chat session with a ID.me representative.
Select which type of meeting you would like to join and click Continue.
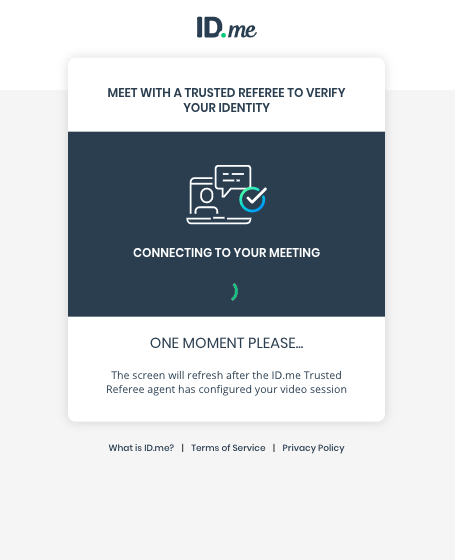
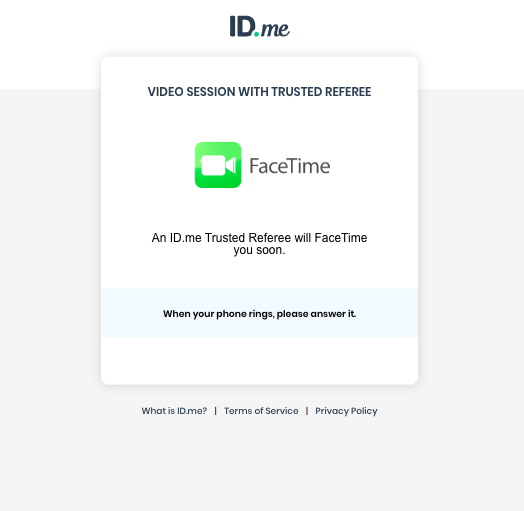
Step 12: There will be a short wait while you are connected to a representative.
Step 13: Once you are connected, the ID.me representative will call your mobile phone.
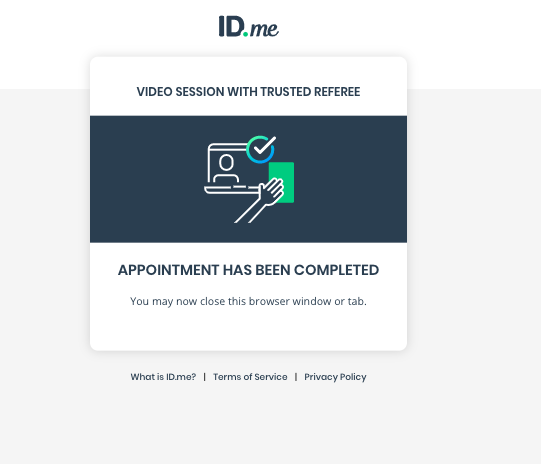
Step 14: Your video session will last less than 3 minutes. Once complete, you will receive the following confirmation screen and email.
You can now continue with steps 19-23 in our EPCS: Prescriber Getting Started Guide.