Why use a Custom Status
A custom status gives you the ability to control how a medication displays when the medication is assigned the status. You might use a custom status to color-code medication statuses, such as a PCP/External Medication or a Discharge Medication. You might also use a custom status to prompt the user to supply a prescriber name, such as for a PCP/External Medication.
Accessing Status Configuration
- Open ScriptSure by either
- Clicking the pill bottle on the toolbar (
 ) or
) or
- Going to the Client Menu, selecting Client Medications to open the Client Medication History window and clicking the Add Med button.
- Click Settings

- Scroll down the list and select Modify Prescription Statuses from the dropdown list
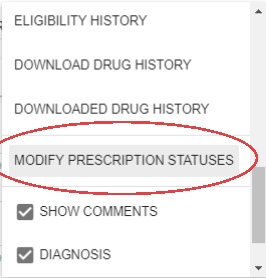
The Prescription Status window opens.
Prescription Status Window
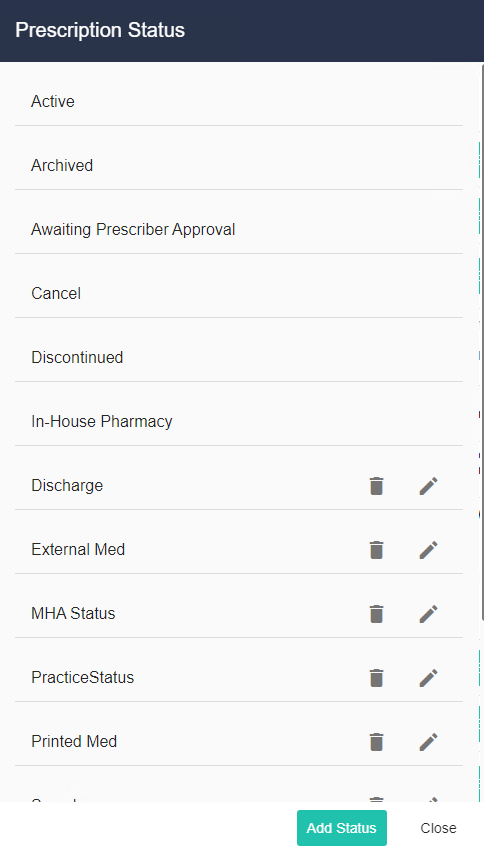
NOTE: Status entries that do not have an edit (pencil) or delete (trash can) icon are not customizable
Select an Action:
-
 (Trash Can icon): Delete a status

Pencil icon: Edit a status

Add Status button: Add a new status
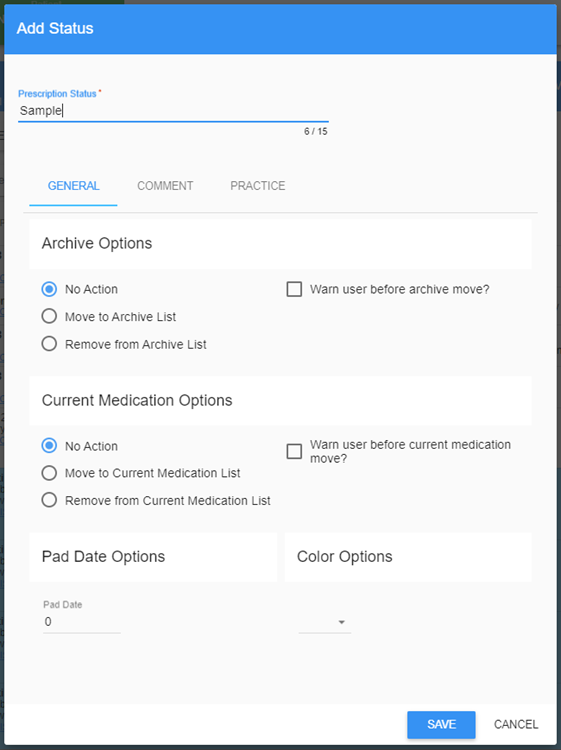
Add a Status - General Tab
- Enter the name of the status, such as Sample
- Archive Options – select whether selecting this status archives a medication.
- Current Medication Options – select whether selecting this status adds or removes this medication from the current medication list.
- A Current Medication Option of Move to Current Medication List will prompt the user to supply a prescriber a name when the status is selected. This is useful for indicating the prescriber for a medication prescribed outside of Scriptsure, such as a PCP or external medication.
- Pad date options – select whether selecting this status adds a number of days of padding to the medication’s expiration date.
- Color options – select whether selecting this status sets the medication row to a color
|
 |
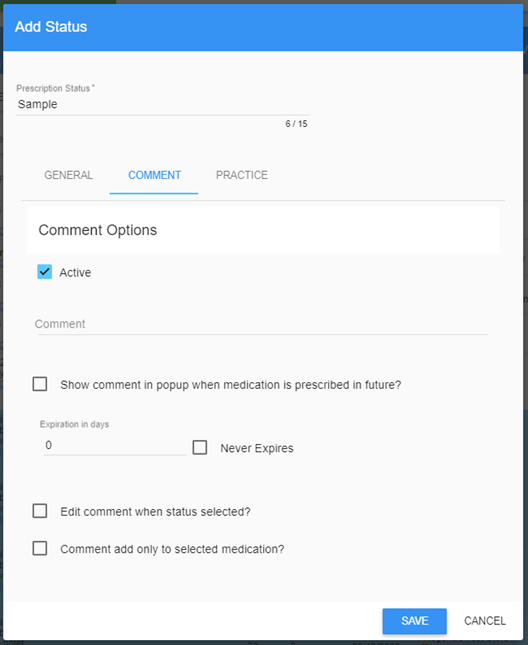
Add a Status – Comment Tab
- Active checkbox - Select whether you want the user to supply a comment when the status is selected. Clicking the box shows additional comment options.
- Show comment in popup when medication is prescribed in future – check this box to select whether a comment popup appears when/if the medication is prescribed in the future
- Expiration in days: Indicate the number of days before the comment expires, or check the box for Never Expires.
- Edit comment when status selected – check this box if you want to allow the user to change the comment
- Comment add only to selected medication – check this box if the comment only applies to the selected medication.
|
 |
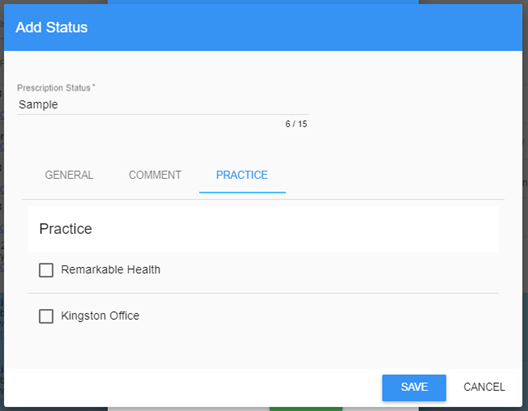
Add a Status – Practice Tab
| Select which practice(s) can use this status. |
 |
