CT|One offers two styles of Client Face Sheets, both are accessible from the Client Master window.
Access: Client > Client Master or F10
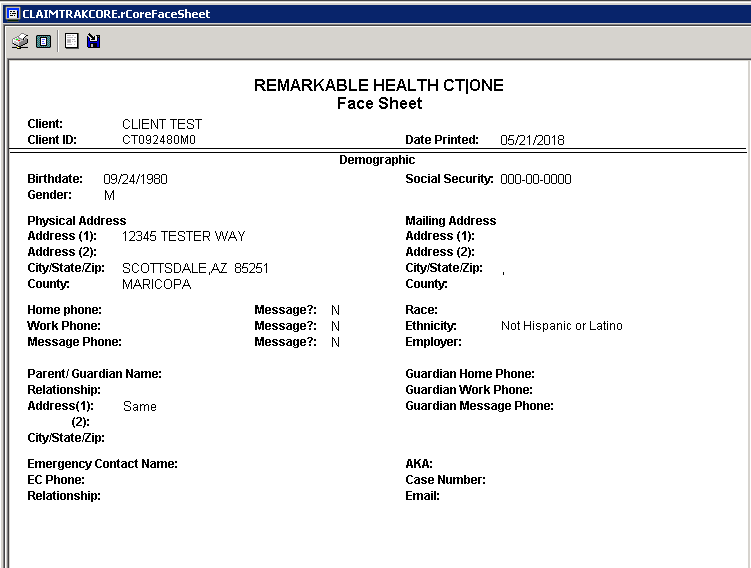
Face Sheet
Basic client demographic information and contact information as found on the Demographic Tab of the Client Master.
Client Face Sheet
Includes the client’s demographic and primary guarantor information as a default and allows the user to select additional data elements. This face sheet is also added to the Client Chart for historical documentation.
- Secondary and Tertiary guarantors
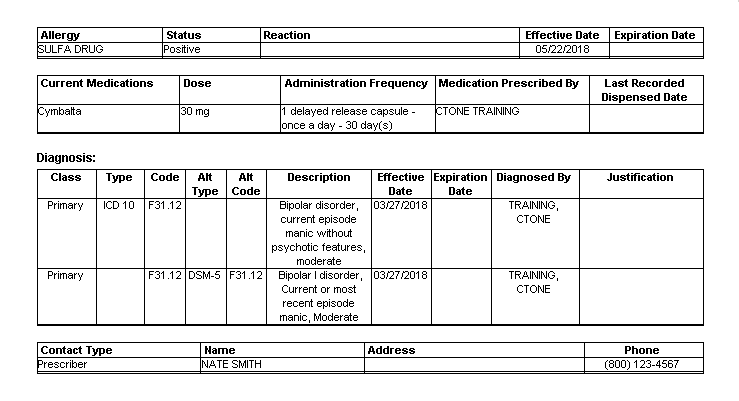
- Allergies
- Current Medications
- Diagnosis – Current active diagnosis codes and description.
- Client Contacts – Current active contacts from the Client Status form.
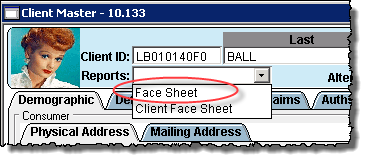
FACE SHEET
From the Client Master select Face Sheet from the reports drop down. The Face Sheet will present and can be printed or saved as a pdf but is not saved to the client chart.
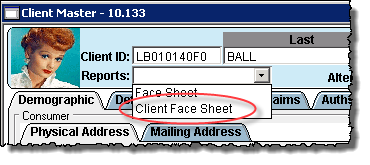
CLIENT FACE SHEET
This face sheet includes the client’s demographic and primary guarantor information as a default and allows the user to select additional data elements to be included. This face sheet also adds a packet to the Client Chart each time the Client Face Sheet is generated for historical purposes.
Generate Client Face Sheet
Access: Client > Client Master or F10
- Select Client Face Sheet from the Reports drop down.
- Check the checkbox for the data elements to be included on the Client Face Sheet from the Selection window. To include all elements check the Select All checkbox.
- Click OK.
- The Client Face Sheet presents and can be printed or saved as a pdf.


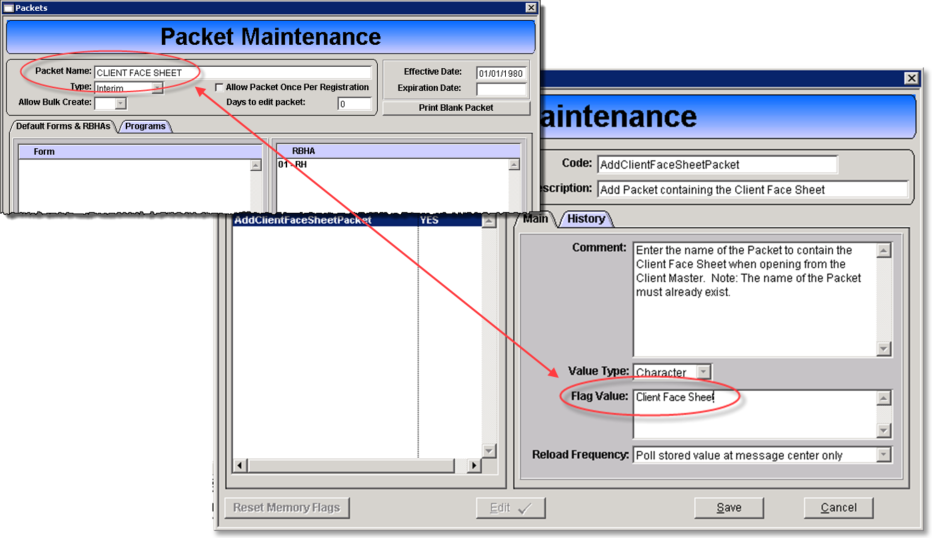
Set Up
Prior to using the Client Face Sheet these steps need to be completed or the Client Face Sheet will be added to the Client Chart under a blank packet.
- Create a Packet for the Client Face Sheet.
- Add the Packet Name to the AddClientFaceSheetPacket flag.